Long, long ago (last year); in a land far, far away (ok, about 10 miles away from here); I bought a spinning wheel.
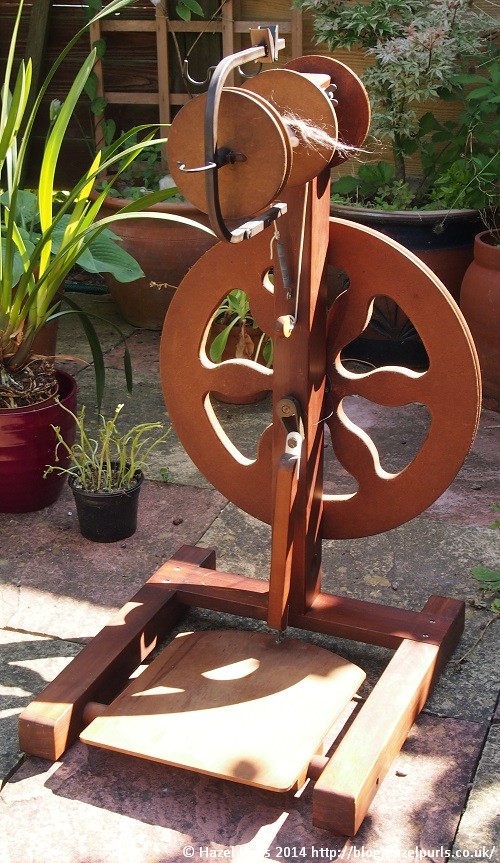
It was a lovely wheel and I enjoyed using it to spin wild, unusual and time travelling yarns.
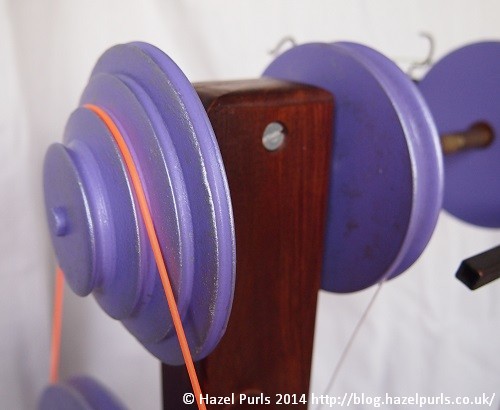
However, after a while I noticed a problem. The flyer was showing wear on the largest whorl and I started to worry that I would be damaging the wheel if I continued using it. The wheel also had a wobble, which I hoped could be fixed.

I took the wheel to bits (as far as it would allow) so I could refinish the drive-wheel and flyer surfaces (which are an MDF type of board – hard and dense made from glued together wood fibres) and give the spinning wheel a general overhaul and service.
TOOLS: I used a thingamabob (correct technical name, but just so we are talking about the same thingamabob, I’ve taken a photo). I also used an hexagonal Allen key (imperial 3/32”), screwdrivers and an adjustable spanner.

To remove the drive-wheel, I took the crank off the drive-wheel’s hub shaft using the 3/32″ Allen key to undo the grub screws. When reassembling there are two flattened surfaces on the shaft that the grub screws hold onto.

In order to remove the flyer I used the thingamabob to grip gently onto the sealed bearing that runs through the wooden upright. This gave me enough leverage to rotate the bearing in the wooden upright and wriggle it out (just pushing the flyer didn’t work as it is an extremely tight fit, the rotation allowed the flyer to be wriggled free). When reassembling I again used the thingamabob, but also applied silicon lubricant in an effort to make it slightly easier, it was still a tight fit.
Once in pieces I gave the wooden parts of the wheel a good polish and made the base level (there is a slight warp in the wood for the bottom H of the frame, this was levelled by adding washers between two of the feet and the frame).
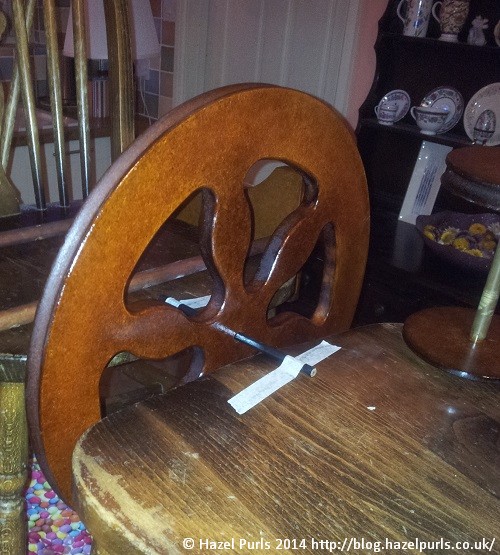
I then turned my attention to the MDF parts. I decided to use the lazy kate to test any products I was intending to use on the wheel. Though a good idea in principle, in practice it turned out that there had been more wear on the surfaces of the wheel than on those of the lazy kate. So, if you have a Pipy Poly and wish to refinish the wheel, please check anything you use on a part of the wheel that isn’t going to matter if it reacts badly to the product. In my case I discovered that using an acrylic based MDF sealer was a very bad idea – the surface of the drive wheel bubbled even though the lazy kate had been fine!!!! Fortunately I didn’t damage anything that affects the performance of the wheel and the subsequent finishes hide the cosmetic damage.
Having discovered that MDF sealer was not suitable to use on my wheel, I looked for more information and discovered in a Jocasta Innes book that shellac could be used to seal old MDF furniture prior to painting. I bought some “Button polish” (which is a solution of shellac in alcohol used in French polishing). I put 2 or 3 coats of this on the MDF parts of the wheel (starting with the drive wheel and then working on the flyer and bobbin).
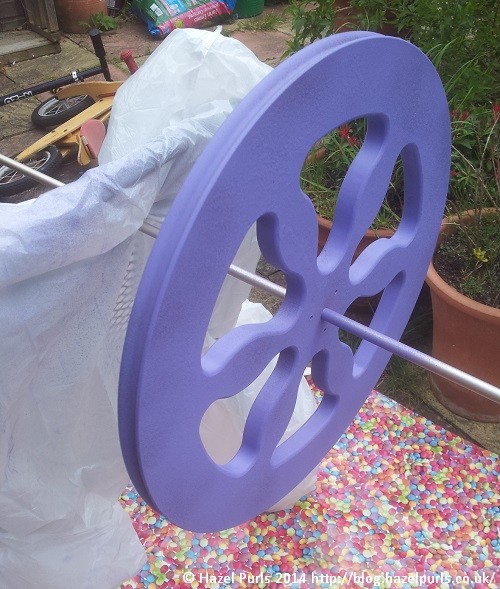
Next up was the painting!!!!
I used an acrylic spray paint to finish all the MDF surfaces (this was a fun task to do on the patio one day) I gave all parts 2 or 3 coats. I finished with some silver paint and then a couple of coats of clear acrylic varnish.
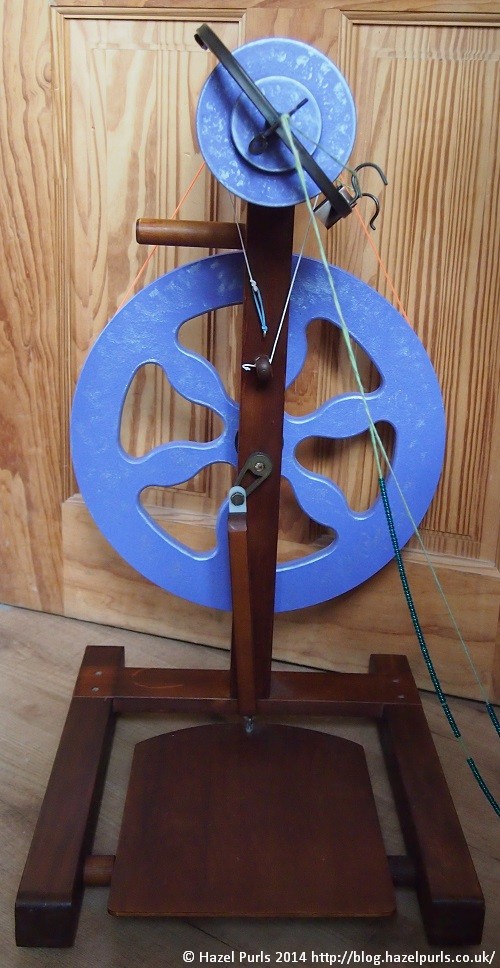
Sadly I was unable to fix the wobble, as the drive-wheel’s hub shaft has a small bend. However, by carefully aligning the flyer whorls with the wheel, problems this was causing have been eliminated. I’ve used pony bead lacing (used by children for making necklaces and bracelets) as the drive band material. It’s softer than the poly drive bands but grips surprisingly well. It is also extremely easy to cut and join, and comes in some great colours. To reduce excessive wear on the flyer from using a tight drive-band I have three separate drive bands to use over the four whorls.
I put the wheel back together, just in time for us to attend a spinning course at the start of May!
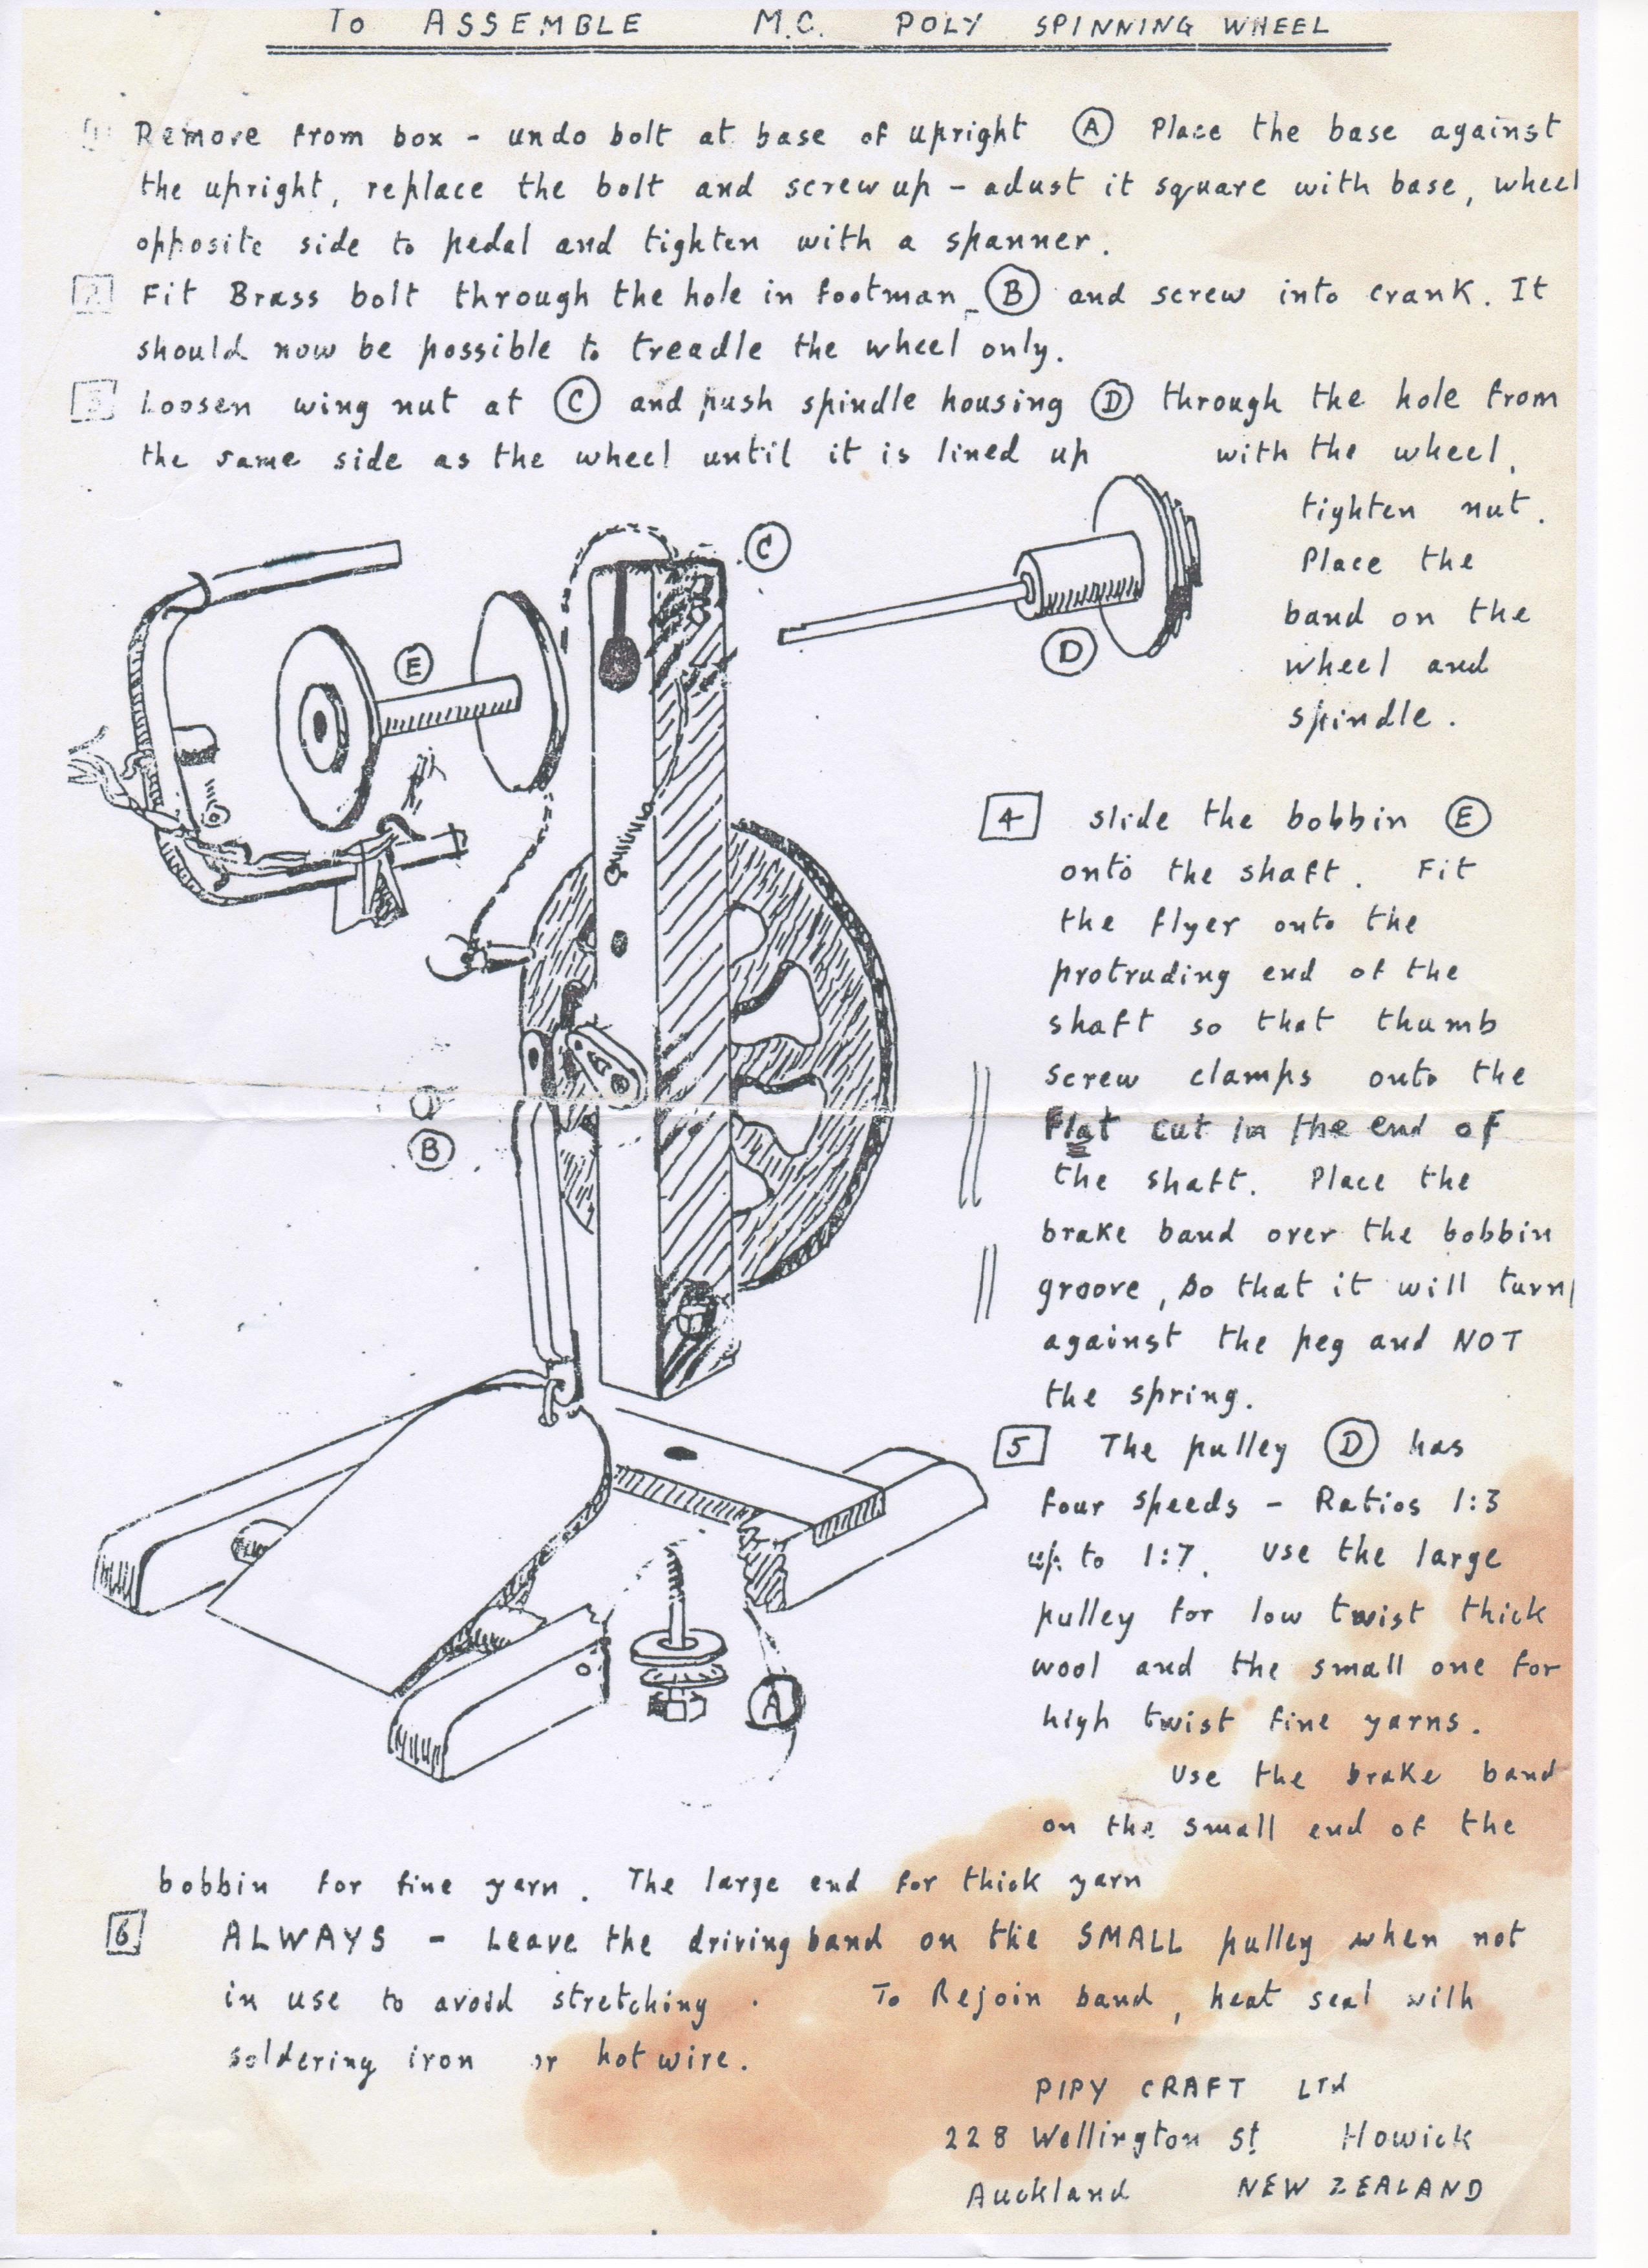
I’ve been kindly given a copy of the instructions that go with this wheel by a friend. Click on the image for a full-size copy:
One thought on “A tale of a wheel’s transformation”
Comments are closed.