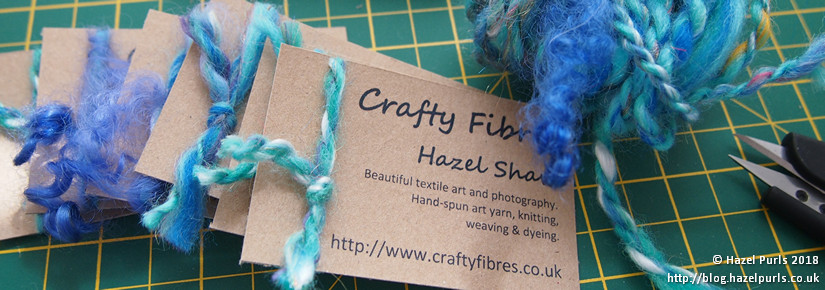
Last summer I made my own business cards for Open Studios. These were great fun to create and allowed me to show off my handspun yarn! They were also considerably cheaper than ordering cards and used normal A4 card. The trick to making professional looking cards is how you cut them out.
I’ve created a template in word that can be edited. Feel free to change the fonts and font sizes, add colour, a logo, pictures or photos. Make the changes in one of the card spaces in the table and when you are happy with it select it and use copy and paste to paste it into each of the other business card cells in the table. Cutting lines are marked around the edges of the sheet but not on the business cards themselves. This means that when you cut the cards you’re not trying to deal with a line on the edge of the card.
A4 business card template in Word 2007 format
I printed my business cards onto 280gsm acid free recycled kraft card. I was able to use my printer’s manual feed and an alternative output slot (not onto the tray) so that the card went straight through the printer without it being bent. You’ll need to explore the options on your printer to see what’s possible. Also check your printer and choose a card stock that isn’t thicker than your printer can handle.
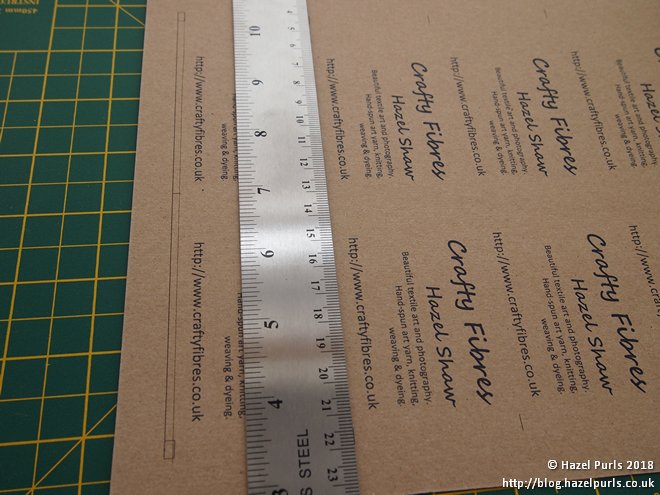
As well as the card you will need a sharp craft knife (I used a scalpel blade for this), a metal edged ruler and a cutting mat.
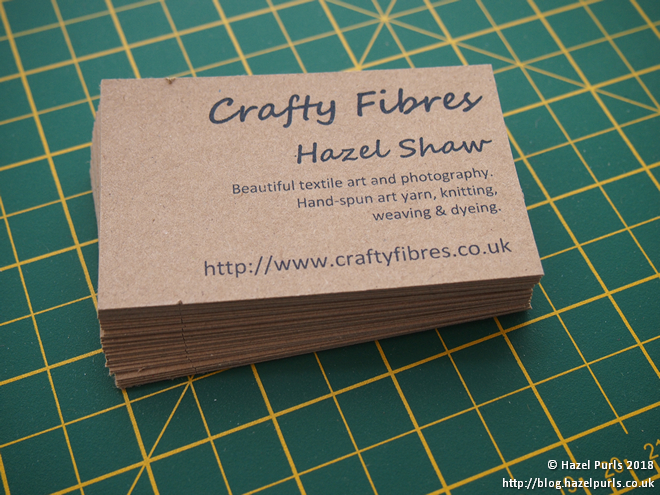
The sheets of cards fresh from the printer:

We’ll only cut one sheet at a time (do not stack the sheets hoping to make this quicker – it’ll be harder to do clean cuts on the sheets below).
Start by cutting the horizontal lines. It is easiest to cut lines from top to bottom, so turn the card around by 90 degrees before cutting. Use the marks at the edge of the card to line up the ruler and cut. Ensure you make the cuts above the top cards and below the bottom cards, it is easy to miss these. Leave the edges of the card uncut, but make sure you’ve cut right across the width of the business cards.
Like so:

Once all the horizontal lines have been cut, then turn the card back upright and cut the vertical lines. Start with the one on the right hand side, then cut the middle line.


The first set of cards will drop out at this point. Finally cut the line on the left hand side:
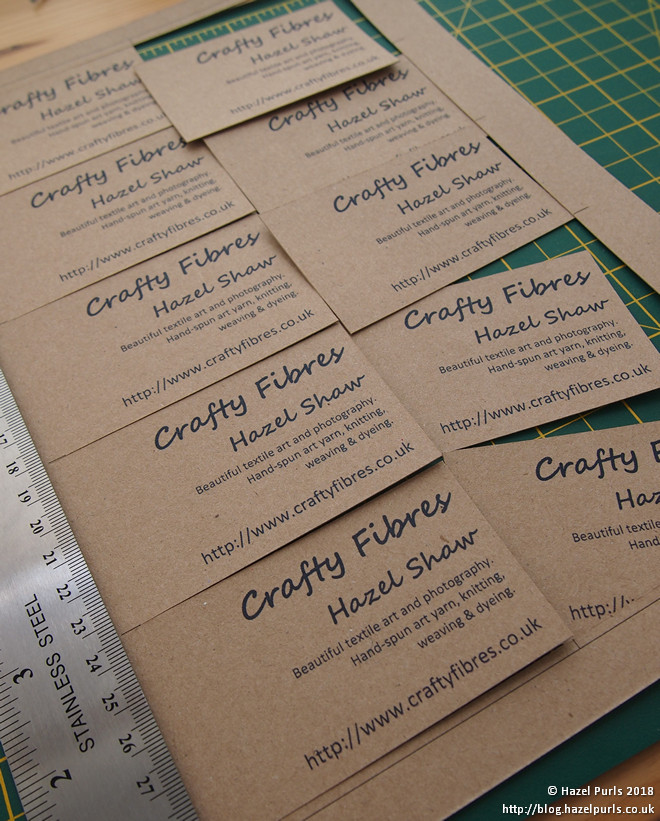
All the cards have been cut from the sheet.
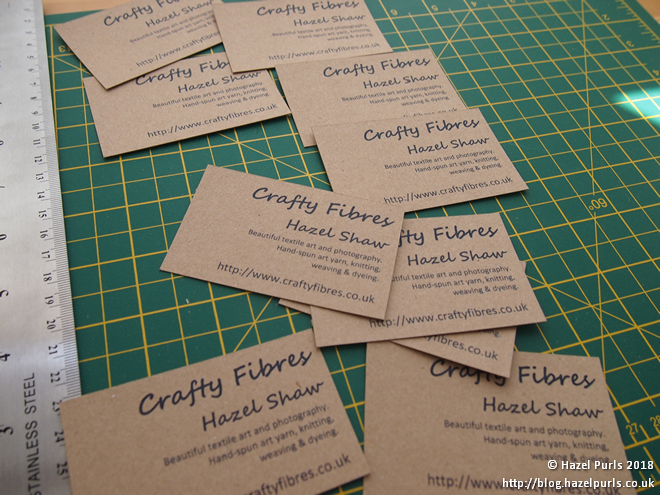
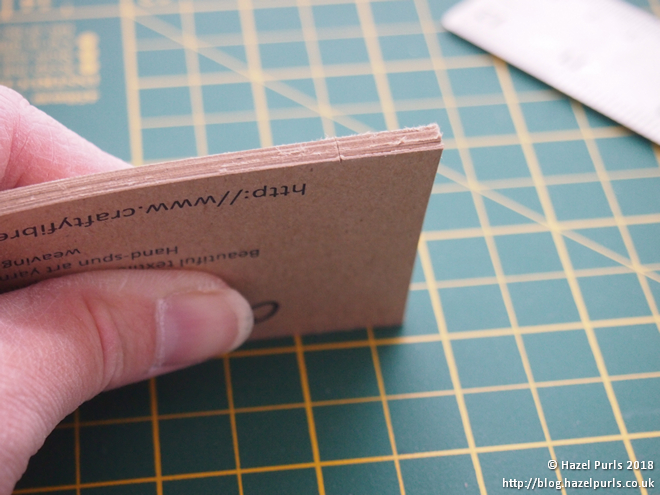
They make a nice neat stack:

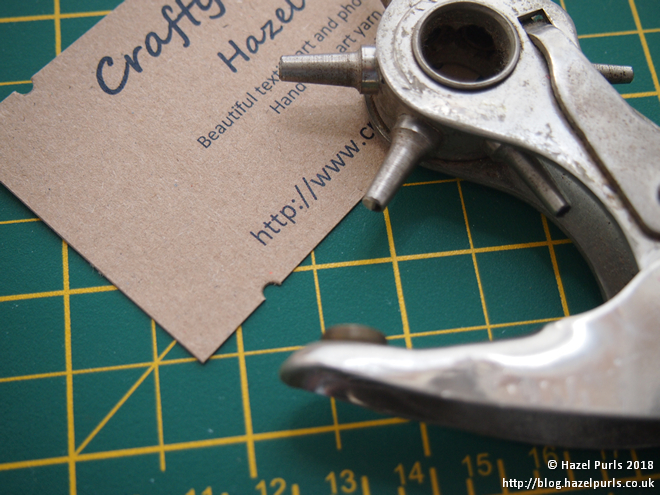
At this point you can stop. However, I wanted to wrap yarn around my cards. Ribbon may be added instead or fabric could to glued to the front. To wrap the yarn I added notches to the edges of the cards. Mark the edges of the card where the notch is going to be. I used the craft knife to mark a number of cards at once. Mark top and bottom (the cards in the photo are upside down at this point to mark the bottom, so the mark is made closer to the right hand side):
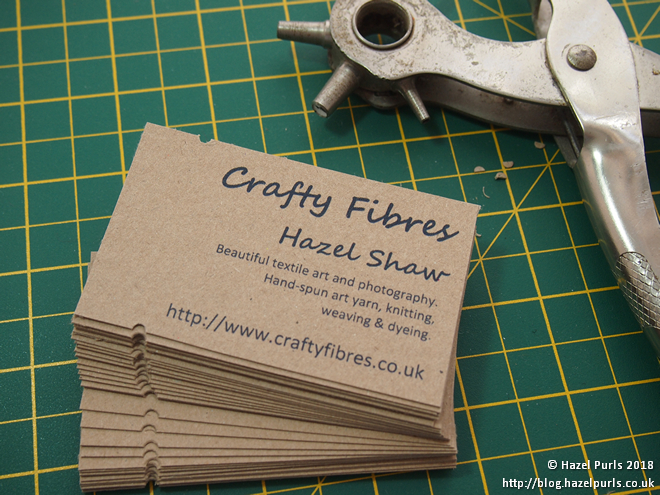
I then used a hole punch to make a half-hole at the top and bottom edges at the card:
Finally I wrapped the yarn around the card, made a reef knot and trimmed the ends of the yarn:

I hope you’ve enjoyed my tutorial. I’d love to hear your thoughts and if you’ve made your own business cards – please leave a comment below. Until next time…
Keep Crafting!
A simple but effective tutorial. I did try making some “cards” a few years back but they did not turn out well. I used thin card and did not take my time on cutting.
Thank you Andy! This isn’t my first attempt at making my own cards (I’ve had a few goes over the years), but it’s the first time I’ve been satisfied with the result!