Over the last few days I’ve rescued a warp I made a mess of during winding onto the back beam (I was rushing and the paper wasn’t wide enough). The warp has lain abandoned for at least six months, with the heddle correctly threaded, but the threads not tied onto the front beam. I unwound it and re-wound it with fresh paper between the layers. This sounds easy but proved hard, as there is a high proportion of mohair yarn in the warp and these stuck together with glee, happily hugging the wool yarns in their embrace too. So both patience and determination was needed to unwind and re-wind the warp. I’m not sure how successful the rescue will be, as the threads were all different lengths then finally wound on. I’m expecting some puckering when the cloth is finished.
Once rewound I used a technique for tying to the front beam I’d seen in a video from Ashford. It involves tying small groups of warp threads together with knots then using cotton thread to lash the ends onto the apron. I found this to be really straightforward and I felt it was quicker to get the tension equal across the warp. I don’t mind the usual method, but do find I spend a lot of time going back and forth, tightening knots to get all the warp at the same tension. I shall be using the lashing method again.
Then I started weaving the header. Or should I say, I tried to, but didn’t get far! I’d lift the heddle up, and all the threads moved up. I moved the heddle down, and all the threads moved down. NO SHED! Perhaps I should have sized the threads before putting on the warp (I have no idea how to do that, or what to use, something to explore for another day)!
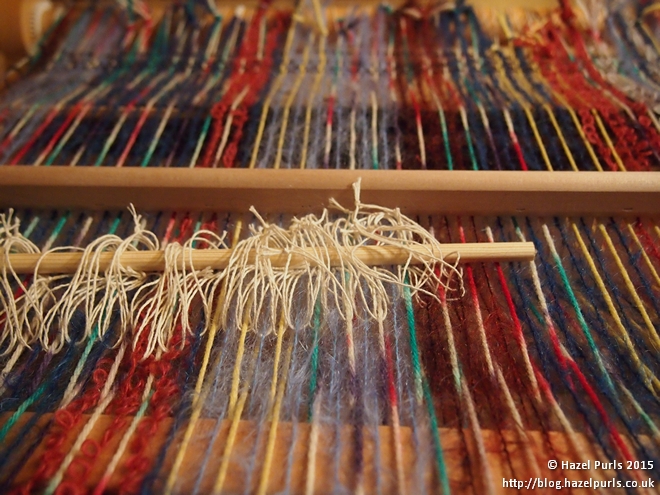
Before abandoning the warp and cutting it off the loom I thought I’d try using a pick-up stick to help separate the shed (I think I read about doing this on Ravelry). So I threaded a spare shuttle into the warp behind the heddle, and tried with that. This was better, but it only helped for one pick out of two. I didn’t fancy hand separating the warp for the alternate picks, so decided to try using string heddles to lift the threads that should be staying up. Fortunately I had some dowel that I cut to length, then I counted my warp threads and decided I needed 89 heddles, to be certain I made 90. I wrapped the string around a conveniently sized book and cut it to make the 90 short lengths, I then tied all these over a few sessions. I told my children I needed to tie 90 knots. “90 knots!” they both chorused in unison.

Once these were created I threaded them under the threads that are in the slots of the heddle (the threads that shouldn’t move) and looped the heddle onto the dowelling rod.
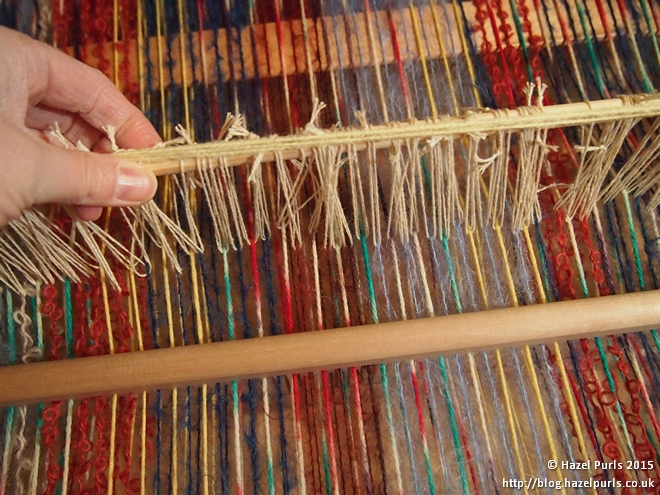
Once I’d done the whole length and had tried it a few times, checking I’d not missed any threads or selected incorrect ones, I took a length of yarn and tied it at one end of the dowel, and then tied it at the other end of the dowel.


This is to hold the heddles onto the dowel, and to prevent the dowel from slipping out from the heddles. It looks like a handle, but I’m not using it as one.

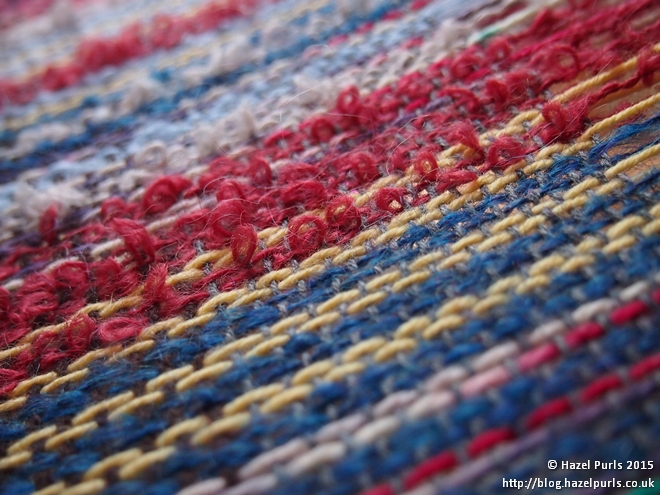
I wove a few more picks of the header and this morning have chosen a thread to use as the warp (I did have a thread planned, but as usual have changed my mind). The secondary heddle system is working. The pickup-stick is pushing down the free moving threads (it’s threaded over the threads in the slots) and the string heddles lift up the free-moving threads (so the strings loop under the threads in the slots). I’m still getting threads sticking together and I’m having to move my hand between the layers of the shed to open it up a bit more, but this is quick and easy compared to trying to weave without the secondary heddles.