A new wheel

Today my new wheel arrived and was promptly whisked out to a craft group meet-up.  I took her to bits, gave her a polish, put her back together again and put on a new drive band. 

20121110_135456

I then wondered what to spin on her.

I fished out of my stash some white, grey and “black” Shetland tops took a length of each and thought about a marled yarn.  Then Secret Spinner walked past and said that she was planning a gradient yarn with her Shetland.  What could I do?  I decided on a quick spin of a small amount of gradient yarn.

I put the tops into groups working from white to black.  For the transitions between white and grey, then grey and black I held the two adjacent tops together and drafted them together.  This produced a marled rather than carefully blended single.  If I was going to do this on a larger project I would go to the effort of blending the transition colours together before spinning.

20121110_135709

This evening, once I’d got the wheel set up at home, I checked the assembly instructions (they can be found on Ravelry).  I discovered that there are two bobbins for spinning singles and one bobbin for plying!  I checked my bobbins and found that two have a whorl that is slightly larger than the remaining bobbin’s whorl, so assumed that the odd-one-out is the plying bobbin.

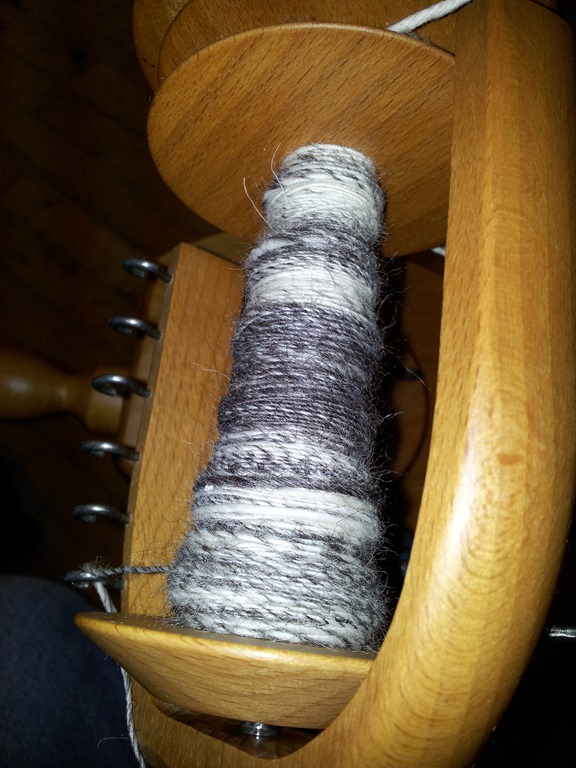
I’m planning on Navaho plying my blue BFL.  But I don’t want to learn on that project.  So this gradient spun Shetland was the ideal candidate for practicing on.  I got in a tangle a few times (I think leaving the singles to set for a day or two would make things much easier).  However, I ended up with a beautifully balanced skein:

skein

It’s now soaking to set the twist.  What shall I knit?  A winter hat, a beret, a small scarf or a Mobius cowl?  It’s not a huge skein, but I should be able to get something useful from it.

As for my new wheel?  She is a delight to spin on.  I’m about to upgrade the flyer on my Traditional to a lace flyer, so the Haldane Lewis will fill that gap and provide me with a lovely wheel for spinning 4-ply to DK thickness yarn.

The accidental spinning wheel collector

At what point does owning some spinning wheels, as essential tools in the occupation of spinning, become having a collection of spinning wheels?  I think I may have just crossed the boundary.  As long as ownership of a wheel can be justified in terms of generalised or specialised use, then that’s a tool to pursue a hobby.  But when a wheel is acquired that isn’t faster, more portable, quieter, great for lace or great for art yarns, then just possibly it may be considered that I have started collecting wheels!

Anyway, my “new to me” Haldane Lewis should be arriving tomorrow.  I’m really excited and looking forward to taking it for a spin Smile

That means I will have 5 spinning wheels (that does rather look like it may be a collection).  I’m still hankering after a very portable wheel though, so I suspect this won’t be my last! Embarrassed smile

Oh, no hang-on! Got it!  The justification is that I’m learning all I can about spinning and spinning wheels.  Some will be tools I use regularly and some will teach me more about spinning!  Not a collection at all! Phew.  (Though really, what’s wrong with a collection of spinning wheels?)

Repairing the Haldane Hebridean

My Haldane has had a rough time of it recently.  She was a working wheel, but when in the kitchen the front bearing went missing (this is a piece of leather that slots into the front maiden on the Mother of All).  While the bearing was missing the flyer was placed on a shelf. I thought it was safe there until the day something was grabbed off the shelf and the flyer was knocked onto the hard tiled floor.  Even as it hit I knew something was wrong.  The flyer arm was broken.

This happened quite a while ago and I’ve been feeling very guilty about it.

Anyway, last weekend the central heating was serviced and the leather bearing was recovered!  A slightly warm but otherwise unharmed part!

This gave me the impetus to look at the broken flyer.  I decided that the best approach was to glue it back together.  I didn’t want to use PVA (which I usually use for gluing wood) as it would need clamping and the flyer is a really odd shape for clamping.  I was also gluing wood to metal as well as wood to wood, as the flyer arm had broken near the middle of the flyer revealing the spindle that runs through the centre.  In the end I chose an epoxy resin glue.  I lightly sanded and cleaned up the areas to be glued; mixed up the epoxy resin and glued the part together.  It didn’t take long at all and this morning I was able to test it out.

20121027_124655

20121027_124852

I’m pleased to say that she works!  Now all she needs is a dust and polish.

Holes

A few days ago I discovered what happens if you move twice in the course of a few months, shove things (including worn but not washed woollens) randomly into bags and then leave the bags untouched for nearly a year.  There may be consequences.  And the consequences are m-m-m.ths. See exhibit a:

moths

Now this is a lovely cardigan I knitted for my son using Twilley’s Freedom Spirit wool and EZ’s Tomten design.  The wool has pilled a bit, but otherwise it’s a nicely shaped cardigan.  I would like my daughter to use it.  Firstly though I needed to repair the holes (I seem to be blogging a lot about repairing holes!)

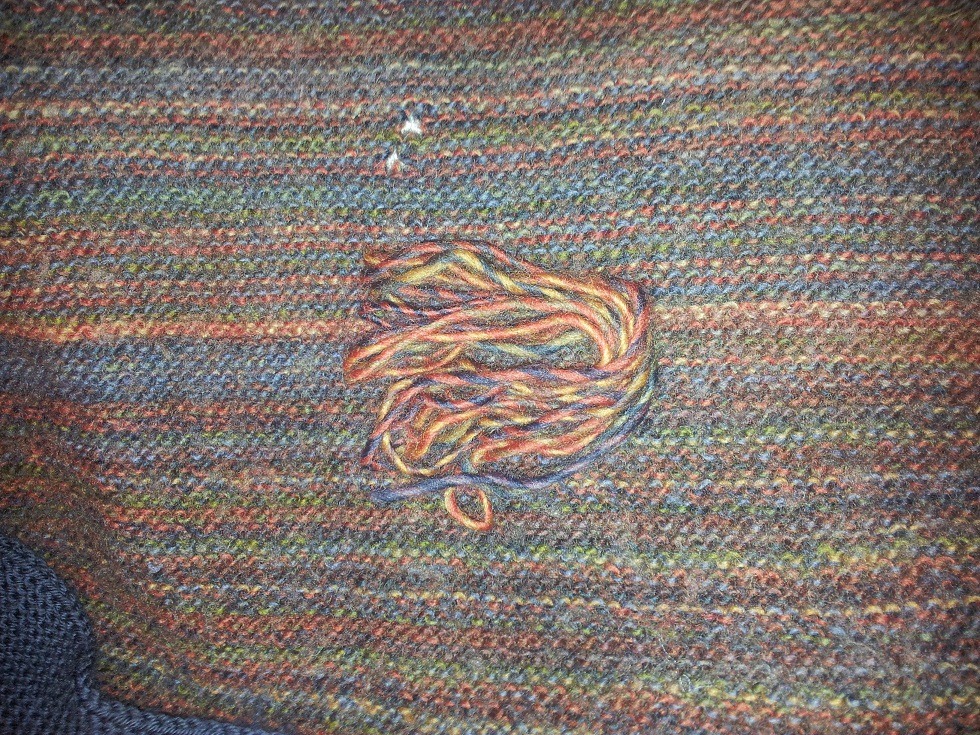
Fortunately I happened to keep the wool I didn’t use.  All two meters of it.  See exhibit b:

totherescue

So, I pulled together my best grafting technique and grafted the holes shut.  Now they are not perfect, but I think on the back of a child’s jumper it won’t be too noticeable (exhibit c):

repaired

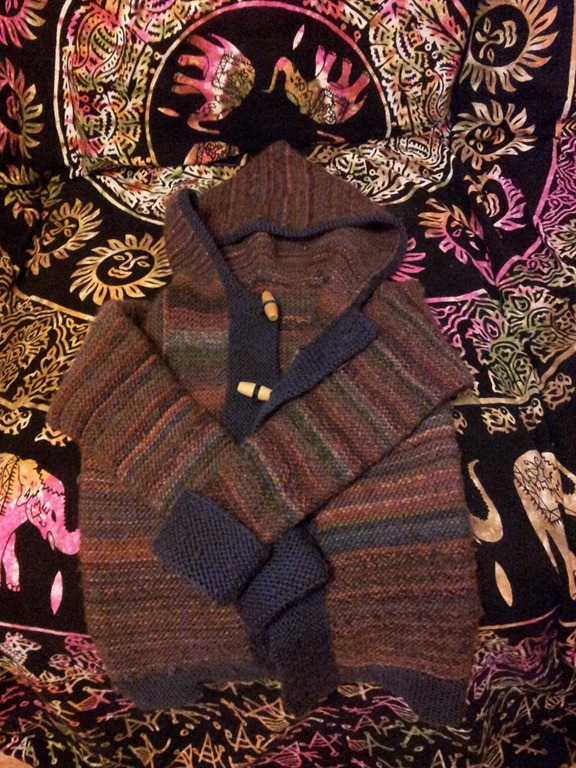
Sadly this is clearly a boys cardigan.  With long dark blue cuffs and long welt at the bottom of the cardi (as he had grown so much in the time I was knitting it).  At the moment this would drown my daughter (exhibit d):

current

So, I’m going to remove all the dark blue and add cuffs and trim in a more girly colour.  I found yellow in my stash (exhibit e):

yellow

Changing Seasons

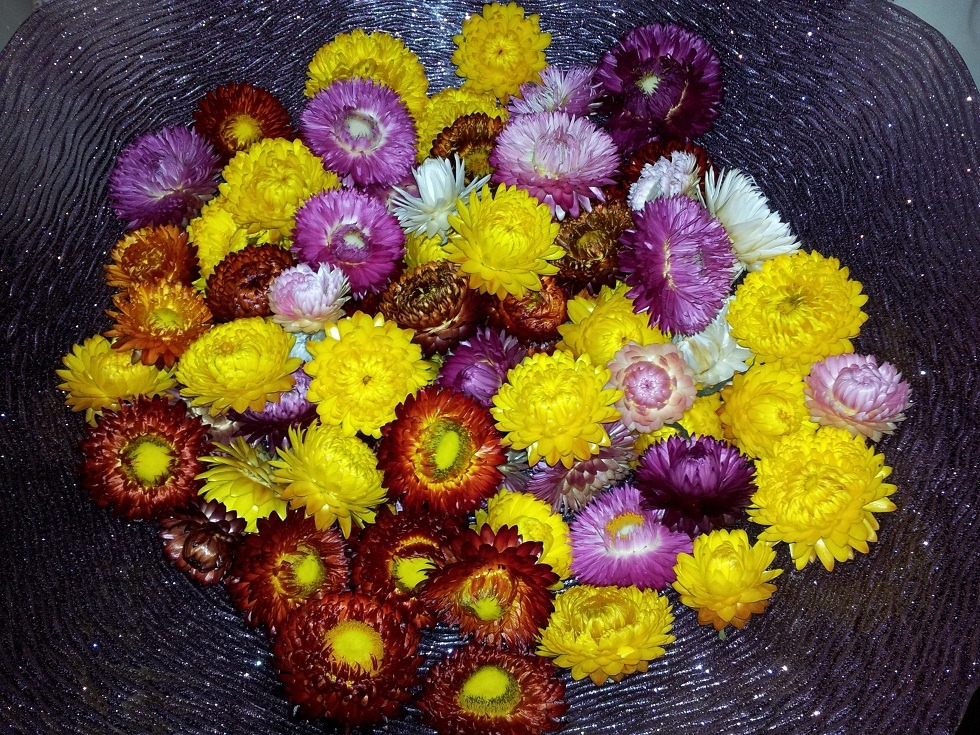
I’ve been a little too busy recently to fit any crafting in: Ravelry, work and children have all absorbed my time.  However, it’s now autumn and there are some lovely treats that come with this season.  An unexpected one I discovered yesterday while out at a local English Heritage garden with the children and my mum.  The shop was selling everlasting (Helichrysum) flowers.  I bought two bags (they seemed cheap and I had a plan about wiring them up to make a display).  When I got home I poured them into a glass bowl, where they suddenly looked very pretty and I abandoned my plan.

Today I discovered that not only do they look pretty, but they are filling my kitchen with an amazing scent.  So I unexpectedly have a bowl filled with very pretty potpourri.

potpourri

And just to bring this full circle, I really like the colours: yellow, pink, peach, almost white, purple and deep orange.  I wonder if these colours would work in a yarn?

What a week!

It’s been just over a week since I last posted – and boy I’ve been busy!!!

On Saturday I went to the local spinning group and chatted and spun until I completely lost track of time.

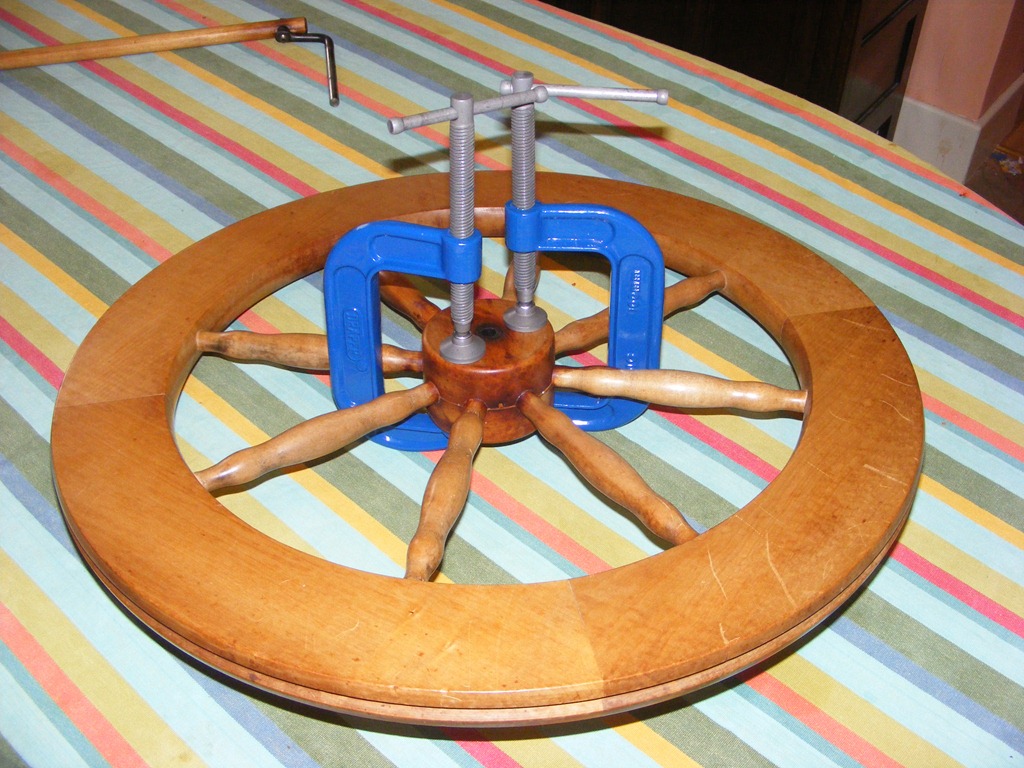
On Tuesday evening I decided to fix my 60’s Ashford Traditional wheel – as the hub had come apart again.  I took it apart and cleaned up the inside of the hub ready for gluing:

DSCF2174

I then discovered that I didn’t have any clamps to hold the hub while it glued.

On Wednesday I went out and bought the clamps and a few other tools.  I also got some brass tubing I’m going to try as bushes in the bobbins of a different wheel.

And then instead of fixing the wheel – I started a new group on Ravelry (Ashford UK Spinners).  That kept me really busy for the rest of the week.  I’ve now produced art work (well a banner and an icon for the group):

banner2

I’ve read hundreds of messages, replied to lots, posted lots of others and got a team of moderators all ready to start.  I’m really hoping we can make this a thriving forum (and that I don’t post too often!)

Anyway, last night I returned to the broken hub.  It didn’t take long to glue it together and add the clamps.  I put the hub spindle back through the hole to ensure that the two sides lined up correctly, but removed it once the clamps had been fixed:

DSCF2184

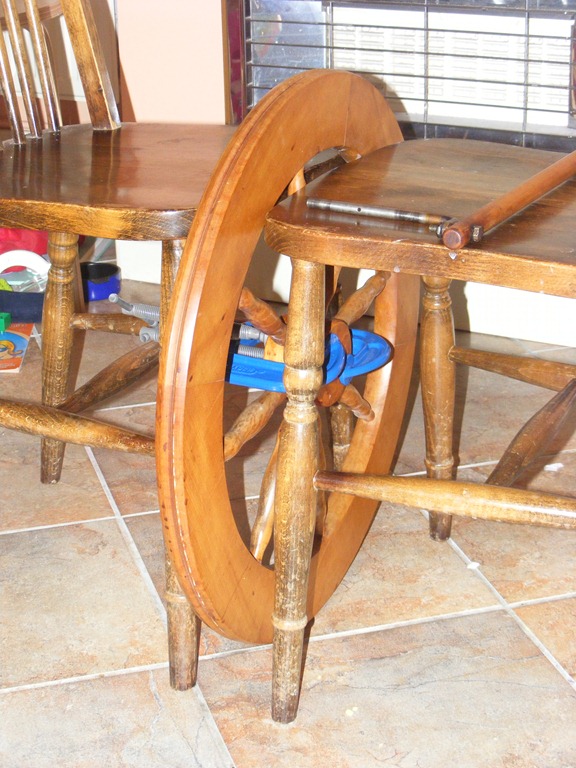
I propped the wheel up between two chairs overnight:

DSCF2183

This morning I put the wheel back onto the legs (the hardest part of this was lining up the hole in the hub spindle and getting the hub pin to go through it).  And this evening I’ve given the wheel a polish, connected the treadle, re-found the jumbo flyer and added a drive band.  I’m not sure why she’s now stood on the table:

DSCF2187

So, a very busy week indeed!

Spinning in Public

Tomorrow in WWSIP day.  That’s world wide spin in public day.  One day I’ll actually manage to do some public spinning on that day!  As I said in my last post, I did some public spinning last weekend. I took my traddy and the blue BFL along and sat spinning in a field in the wind and sun with my friends.  I was a lightweight and only did a couple of hours.  My friends went for the whole day and even set out a table with some of their dyeing and spinning.

Tomorrow is also the day my craft group meet up.  Guess what I’m taking?  That’s right – the blue BFL.  The next thing I spin is going to be long draw.  It’s much, much quicker.

I think I’ve decided on the Navaho plying technique.  And depending on how long and the thickness of the final yarn I may make something like gloves (although they’ll be co-ordinated gloves, rather than an identical pair)!

I should go and get my stuff organised for tomorrow then. Smile

Dr Who and Knitting

I’ve been catching up on watching Dr Who (The David Tennant specials and Season 6 with Matt Smith).  Having caught up I’ve been taken with the idea of making a Dr Who themed knit.  There are lots about.  Some of the following are patterns and some are individual projects.  As none of these are mine, and I therefore don’t own the copyright for any images, you’ll have to follow the links for more detail (and pictures).  For some of these you may need a Ravelry account:

Firstly there are cuddly toys, such as EXTERMIKNIT, Cybermat (not knitted), TARDIS and fabulous dolls such as this one of the 10th Doctor.  As I have two young children I feel somewhat overwhelmed by cuddly toys at the moment.  So I don’t think I’ll be making one of these just yet.

Next there are items of clothing, including that scarf as worn by the 4th Doctor.  This site includes lots of detail on the scarf including great advice on colour matching. Here’s another site also dedicated to knitting the many different versions of that scarf. Then there’s the lovely Bigger on the Inside shawl, Beyond Gallifrey scarf, The Oncoming Storm gauntlets and various hats including INSULATE! I’m really taken with the gauntlets (and have already added them to my never ending Ravelry queue).

Finally there are household accessories.  I think EXFOLIATE could be made into great pot holders.  There’s the TARDIS Kindle Cover. And though this isn’t knitted it’s an amazing quilt.

I’ve got an idea in mind for my own Whovian knit.  It’s still at the random sketches on an envelop stage so I won’t say more at the moment.  I also need to finish off some of my UFOs Smile


P.S. As you probably noticed progress on projects is slow and I’ve got nothing new to report, except that balls of wool are getting lighter and bobbins of singles are getting fatter.

P.P.S.  I had great fun on Sunday afternoon sitting in a field, in the sunshine, spinning with a couple of friends, at a local farm’s open day.  I was only there for a couple of hours, but it was still a nice afternoon out.


Make do and mend

AKA: I haven’t concentrated this hard since doing Kitchener Stitch.

Today was spent at Ikea – where I seemed to buy lots of things I needed but none of the things I really went for.  After this it was time to think about saving money – or at least making a repair that’s been on my list for months.  My daughter has some leggings that developed a hole the very first time she wore them.  This evening I finally got round to repairing the hole then disguising the repair with some pretty daisies.

This is the first embroidery I’ve done in years and it turns out that daisies are much harder than I remember (and French knots are impossible!)   There are three daisies disguising the hole at the top of one leg and a single daisy just above the ankle on the other leg to help make it a “design feature”!

daisies

Homemade Balms

Sometimes I get eczema on my hands.  I’m never quite sure whether it’s caused by stress or a reaction to an ingredient in soap or a cream.  At these times I find simplifying what I’m using can help.  However, it can be very difficult to find simple products with only a few ingredients, so to solve this I like to make my own balms.

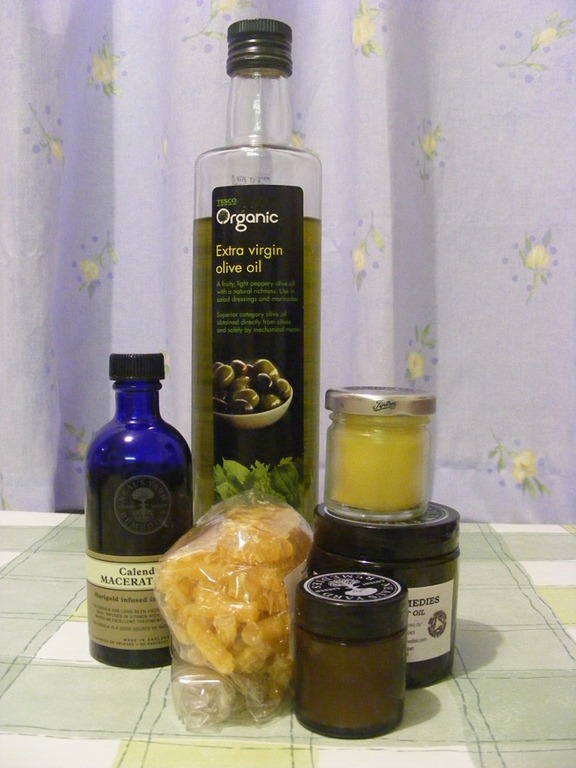
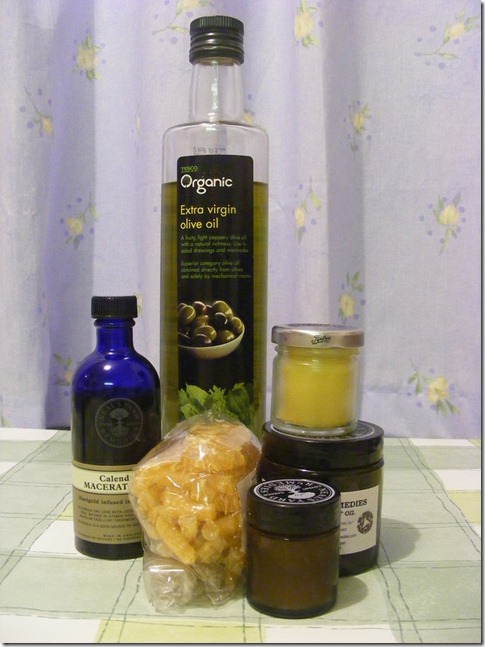
A balm is basically oil mixed with wax to make a solid product that melts when applied to the skin.  A very simple balm is olive oil with beeswax.  This evening I made a couple of balms.  One is to use on my hands and the other is to use as a nappy cream for my daughter (they are basically the same – but I prefer to keep their uses separate so made up a jar for each).  They were both made with beeswax, extra-virgin olive oil and calendula macerated in sunflower oil.

I used to keep bees and was pleased to see that the beeswax I bought was certified organic.  At one time I didn’t worry about this.  But the miticide used to treat varroa is a wax soluble product.  Good beekeepers will treat after harvesting honey and taking off the wax which should minimise problems with the wax being contaminated.  But still, I’d rather be sure there was no chance of contamination – after all when buying beeswax it’s not possible to tell if the wax has come from the cappings when the honey is harvested (this will be the best quality wax) or from the combs after they’ve had a number of seasons in the hive.  (For cosmetics I’d hope for cappings and for furniture polish the older – often darker – wax from the combs will be sufficient).  I realise that the wax I’ve bought is quite dark in colour.  So it may be older wax from the combs.  But as beeswax can be bleached or even adulterated with paraffin wax to make it look lighter (and purer) this isn’t a good indicator.

Sorry about all those technical terms, when I started writing I didn’t realise I was going to get into beekeeping terminology!

Cappings: when the bees have finished making the honey they put a lid over the cell the honey is stored in.  When the beekeeper harvests the honey they slice off the “lids” over the cells and this is the “cappings”.

Varroa: a parasitic mite of the honey bee that adversely affects beekeeping in almost every country in the world.

Miticide: is an insecticide used to kill the varroa mite in the hive but it’s delivered in low enough doses so that it doesn’t effect the bees (hopefully!)

Back to making balms!

I make my balms right in the jar using a microwave!

By volume I use approximately 1 part beeswax to 3 parts oil.  I put the beeswax in the jar and top the jar up with the oils I’m using (It’s a good idea to leave a little space in the jar to allow the addition of more oil or wax if the final product is the wrong consistency).

I put hot water in a bowl and then stand the jar in the bowl.  Usually the water comes to about 2/3 to 3/4 up the side of the jar.  I then put this all in the microwave and heat it gently.  At this point I want to emphasis the importance of doing this gently.  That’s OIL and WAX in a MICROWAVE.  You don’t want a fire.  I put the microwave on about 1/4 power and heat for a minute at a time, taking the jar out and stirring regularly.  The wax will melt at about 70 degrees Celsius.

Once the wax has melted you can check the consistency.  I use a cold spoon and dip it into the hot oil/wax.  The mixture will set on the spoon.  It should be reasonably firm.  You can then see how well it melts on your skin.  If it doesn’t melt then you will need to add a little more oil.  If the mixture is very soft on the spoon then you may want to add some more wax (just a little) and stir it until it’s melted.  Then I put the lid on and pop it in the fridge to cool and set!

You can make this as complicated or as simple as you like.  Olive oil and beeswax is as simple as it gets.  Other vegetable oils can be used (e.g. Sunflower, Safflower, Avocado Oil) though I would always use a cold-pressed oil.  The balm can also be scented with essential oils – just a few drops will be enough.  Personally I like mine plain!

As you can see, although I used some “posh” ingredients in my balms tonight, the main ingredient came out of my (Mum’s) kitchen cupboard!
balm making